Trezor Start — Securely Access and Manage Your Cryptocurrency
Welcome to Trezor Start, the official guide to getting started with Trezor, one of the most trusted hardware wallets for cryptocurrency. Trezor combines robust security, intuitive design, and extensive multi-asset support, allowing users to store, manage, and interact with their digital assets safely. Whether you are a crypto beginner or a seasoned investor, Trezor Start provides everything you need to secure your funds, manage accounts, and explore decentralized finance (DeFi) and Web3 platforms.
This guide is a comprehensive, step-by-step walkthrough of setting up your Trezor device, accessing Trezor Suite, adding cryptocurrencies, performing secure transactions, and optimizing your crypto experience. The content below is approximately 1,500 words.
Why Trezor Start Is Essential
Cryptocurrency offers full financial freedom, but it also places responsibility squarely on the user. Your private keys are the only way to access your funds, and if they are lost or compromised, recovery is impossible.
Trezor addresses this challenge by providing:
Offline private key storage – private keys never leave the hardware wallet
Secure transaction signing – all transactions are confirmed physically on the device
Recovery seed backup – ensures access if the device is lost or damaged
Compatibility with thousands of cryptocurrencies – manage multiple assets from one device
Integration with DeFi and Web3 applications – interact safely with decentralized platforms
Starting with Trezor ensures that your crypto journey is secure, controlled, and optimized for modern digital finance.
Getting Started with Trezor
Trezor offers two main hardware wallet models:
Trezor Model One – a reliable, secure device supporting most popular cryptocurrencies
Trezor Model T – a premium device with touchscreen functionality, additional coin support, and enhanced usability
To begin, you will need:
A Trezor hardware wallet
Trezor Suite installed on your desktop or mobile device
Your recovery seed for backup and restoration
Trezor Start will guide you through setting up your device and accessing your cryptocurrency safely.
Step 1: Purchase Your Trezor Device
Always buy Trezor hardware wallets from official channels to ensure authenticity. Counterfeit devices can compromise your funds.
When your device arrives:
Verify the packaging has not been tampered with
Check the holographic security seal (if applicable)
Follow the setup instructions in Trezor Start
Step 2: Install Trezor Suite
Trezor Suite is the official software for managing your hardware wallet and cryptocurrency portfolio. It is available for Windows, macOS, Linux, and as a web application.
Steps to install Trezor Suite:
Visit Trezor.io/start to download the official version
Select the version compatible with your operating system
Install the software and open it on your device
Follow on-screen instructions to connect your hardware wallet
Trezor Suite allows you to add accounts, view balances, send and receive crypto, and interact with decentralized applications securely.
Step 3: Initialize Your Trezor Device
When you first use your Trezor wallet, you will:
Choose a PIN code – protects your device from unauthorized access
Generate a recovery seed – typically 12, 18, or 24 words
Confirm your recovery seed on the device
Security best practices for recovery seeds:
Write it down on paper and store offline
Never photograph or store it digitally
Do not share it with anyone
Use it solely for wallet recovery
Your recovery seed is the ultimate key to your cryptocurrency, so securing it is critical.
Step 4: Connect Your Trezor to Trezor Suite
Once initialized, connect your Trezor hardware wallet to your computer:
Plug it in via USB (Trezor Model T also supports USB-C)
Enter your PIN to unlock the device
Trezor Suite will detect the wallet and prompt you to install apps for specific cryptocurrencies
Each cryptocurrency is managed through its app within Trezor Suite, ensuring private keys never leave the device.
Step 5: Add Cryptocurrency Accounts
Trezor Suite supports thousands of cryptocurrencies, including:
Bitcoin (BTC)
Ethereum (ETH)
Cardano (ADA)
Litecoin (LTC)
Polkadot (DOT)
ERC-20 and other blockchain tokens
Steps to add an account:
Click “Add Account” in Trezor Suite
Select the cryptocurrency you want to manage
Follow the instructions to create or import the account
Once added, you can view balances, transaction history, and portfolio value for each asset.
Features Accessible After Trezor Login
Logging into your Trezor wallet unlocks a wide array of features designed for security and convenience:
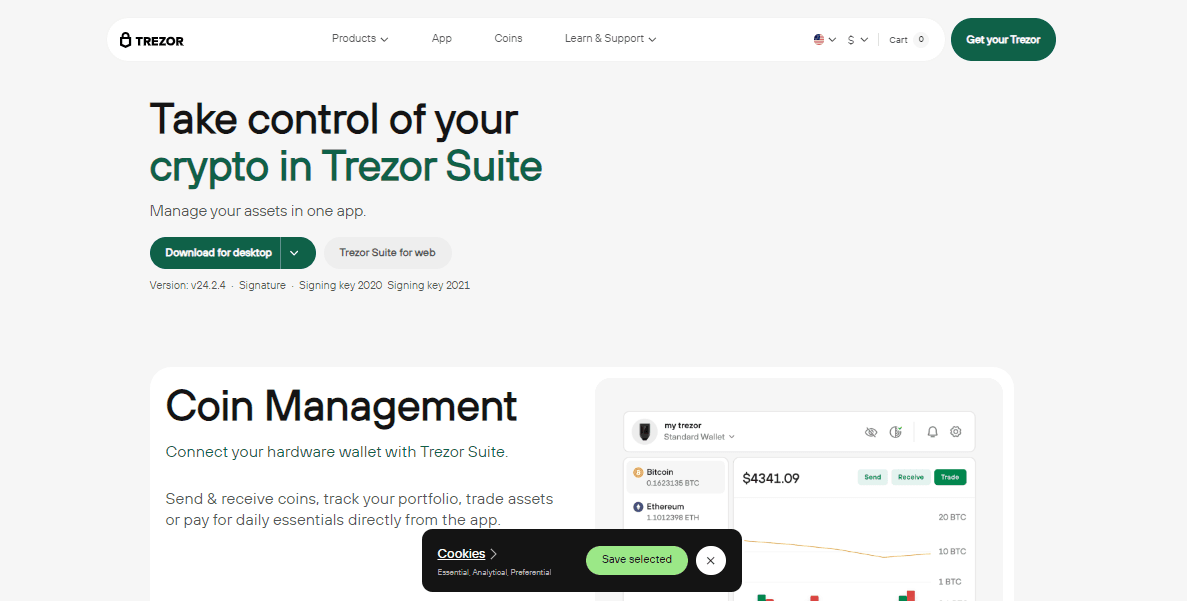
1. Portfolio Management
Trezor Suite offers a clear overview of your cryptocurrency holdings:
Total portfolio value in multiple fiat currencies
Historical performance charts
Individual account balances
Asset allocation analysis
This centralized view helps you track, analyze, and manage your investments efficiently.
2. Sending and Receiving Cryptocurrency
All transactions are signed directly on the Trezor device, keeping private keys offline and safe from malware.
To send: Enter the recipient address and amount, confirm on the device
To receive: Share your wallet address or QR code
3. Staking
Trezor Suite supports staking for select cryptocurrencies, enabling you to earn passive rewards while keeping full custody:
Tezos (XTZ)
Cardano (ADA)
Polkadot (DOT)
Staking rewards are automatically distributed to your wallet, providing a secure way to grow your holdings.
4. Buy, Sell, and Swap
Trezor Suite integrates with trusted partners to buy, sell, or swap cryptocurrencies directly within the app. Benefits include:
Competitive rates
Multi-chain swaps
Private keys remain offline
5. Web3 and DeFi Integration
Trezor allows secure connections to decentralized applications (dApps) and DeFi platforms. Every transaction is signed on-device, protecting you from phishing and unauthorized access.
6. NFT Management
Trezor Suite enables you to view and manage NFTs, supporting multiple standards such as ERC-721 and ERC-1155. Ownership is secured by your hardware wallet, ensuring collectibles remain safe.
Security Features of Trezor
Trezor wallets are engineered with security as a top priority:
Non-custodial storage – you fully control your private keys
Secure transaction signing – prevents malware attacks
Recovery seed backup – allows wallet restoration if lost or damaged
PIN and passphrase protection – additional layers of security
Open-source firmware – fully auditable for transparency
Offline operation – reduces exposure to online threats
This multi-layered approach ensures maximum protection for your crypto assets.
Best Practices for Trezor Users
Download Trezor Suite only from official sources
Keep your recovery seed offline and secure
Regularly update your firmware
Confirm all transaction details before signing
Use hardware wallets for significant crypto holdings
Avoid sharing PINs or seed phrases
Following these practices maximizes security and minimizes risk.
Benefits of Trezor Start
Trezor offers:
Full control over private keys – secure, non-custodial storage
Offline transaction signing – prevents hacks and malware attacks
Multi-asset management – support for thousands of cryptocurrencies
Advanced functionality – staking, NFT management, DeFi, and token swaps
User-friendly interface – simple for beginners, powerful for experts
Global trust – millions of users worldwide rely on Trezor
Trezor Start provides a secure, versatile, and intuitive platform for managing digital assets.
Start Your Crypto Journey with Trezor
Trezor Start empowers users to securely store, manage, swap, and stake cryptocurrencies, while safely interacting with the decentralized web. From portfolio tracking to NFT management and DeFi integration, Trezor provides everything needed for modern crypto management.
Millions of users trust Trezor for its security, reliability, and transparency. Take control of your crypto assets today.
Visit Trezor.io/start to download Trezor Suite and begin your secure crypto journey.